previous picture
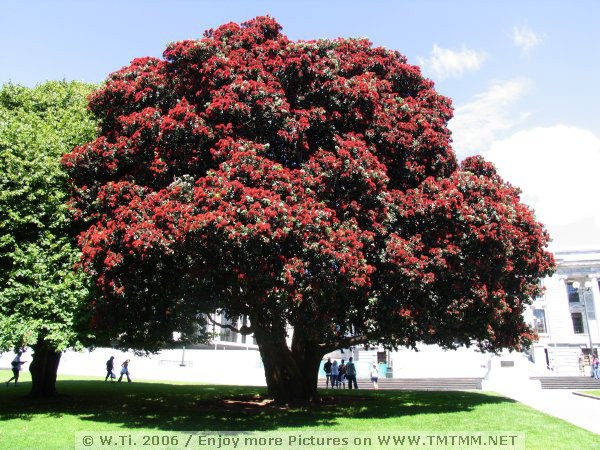
223_Wellington.jpg
next picture
223_Wellington.jpg
back to the overview